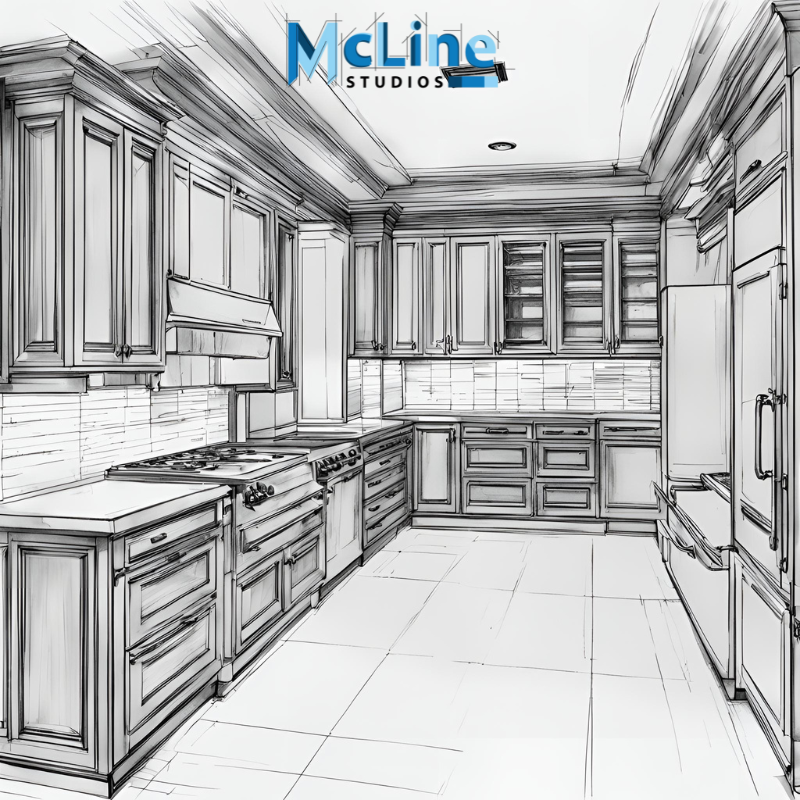
Creating detailed shop drawings is a crucial step in the kitchen design and renovation process. Shop drawings serve as a blueprint that translates the designer’s vision into a set of precise instructions for the fabricators and installers.
These technical drawings provide accurate measurements, specifications, and details that ensure the cabinetry, countertops, appliances, and other elements fit perfectly within the designated space.
Whether you’re a professional kitchen designer or a homeowner embarking on a DIY project, following a step-by-step guide can simplify the process of creating detailed shop drawings.
This guide will walk you through the essential steps, from gathering the necessary information and measurements to using specialized software and drafting techniques to produce comprehensive drawings that leave no room for errors or misinterpretations.
Let’s start!
Step 1: Gather Requirements and Specifications
-
Meet with the client or project stakeholders to understand their requirements, preferences, and constraints
-
Take precise measurements of the kitchen space where the cabinets and fixtures will be installed.
-
Discuss any specific design elements, materials, finishes, and hardware preferences.
Step 2: Sketch Initial Designs
-
Begin by sketching rough layouts based on the gathered requirements and measurements.
-
Explore various design options, considering factors such as workflow, storage needs, and aesthetic preferences.-
-
Use pencil and paper or digital sketching tools to create multiple iterations until a satisfactory design is achieved.
Step 3: Create a Digital Model
-
Use computer-aided design (CAD) software such as AutoCAD, SketchUp, or Fusion 360 to create a detailed digital model of the kitchen layout.
-
Input the precise measurements obtained earlier to ensure accuracy.
-
Include all necessary elements such as cabinets, countertops, appliances, sinks, faucets, and lighting fixtures.
Step 4: Specify Materials and Finishes
-
Select appropriate materials and finishes for the cabinets, countertops, backsplashes, and flooring.
-
Provide detailed specifications for each material, including color, texture, dimensions, and any special instructions for fabrication.
Step 5: Dimensional Detailing
-
Add precise dimensions to the drawing, including the overall dimensions of the kitchen space and individual components.
-
Please ensure that clear annotations and labels are used to identify each element and its dimensions accurately.
Step 6: Include Electrical and Plumbing Details
-
Incorporate electrical and plumbing elements into the drawing, such as outlets, switches, lighting fixtures, and plumbing connections.
-
Ensure that these details comply with building codes and regulations.
Step 7: Review and Revise
-
Review the drawing carefully to check for accuracy, completeness, and compliance with the client’s requirements and design standards.
-
Make any necessary revisions based on feedback from the client, project team, or manufacturing experts.
Step 8: Finalize the Drawing
-
Once the design is approved, finalize the drawing by adding any additional notes, annotations, or specifications.
-
Make sure that the drawing is formatted correctly and ready for distribution to manufacturers, contractors, and other stakeholders.
Step 9: Communicate with Stakeholders
-
Communicate effectively with manufacturers, contractors, and other stakeholders to ensure that they understand the design requirements and can execute them correctly.
-
Address any questions or concerns promptly to avoid misunderstandings or delays in the manufacturing and installation process.
The End Note
In conclusion, creating detailed kitchen shop drawings is crucial for successful kitchen renovations and installations.
By following the step-by-step process outlined in this guide, you can ensure that your drawings accurately represent the design, dimensions, and specifications of the kitchen. Precise shop drawings minimize errors, streamline communication between all parties involved, and ultimately lead to a seamless and efficient installation process.
Remember to include all necessary views, elevations, sections, and detailed annotations to leave no room for ambiguity. With clear and comprehensive shop drawings in hand, you can confidently move forward with your kitchen project, knowing that everyone is on the same page and working towards the desired outcome.